Monday 22 December 2014

My Christmas card to you.

Well I think that I have now finished the last of my Christmas cards!
Barry will hand deliver them locally this afternoon and tomorrow.
I have a few more that I will still show you, but for now,
here's my card to all of you kind people who visit my blog regularly and
leave me such lovely comments - I appreciate them all.
So here's wishing you a very merry Christmas
and a happy and healthy New Year.


With lots of love
Kate
xxxxx

Sunday 21 December 2014

Dylan's first Christmas

Here's the card that I made for baby Sis's (Anne-Marie's) first Grandchild's first Christmas

Side view


Front view

                   I have used the Get your Santa On stamp set and coloured using Blendabilities.

Monday 15 December 2014

Sympathy Card

Sorry for the absence this week - far too much eating going on, 
Christmas shopping and wrapping ,and Christmas card making and writing.
That said, I still have a few special cards to make and post!
Sadly today was the funeral of a masonic friend of Barry and myself,
so I had the task of making yet another sympathy card.
I find that it's best to keep these CAS and let the words inside say what needs to be said.


The stamp set is Love and Sympathy, the colour combo is
Mossy Meadow, Blackberry Bliss and White.

Hopefully I'll have a more cheerful card to post tomorrow for you -
and hoping that normal service can be resumed then too!
See you soon!

Monday 8 December 2014

And one for the Grown Ups!

Here's a stepper card for the grown ups - can you guess who it's for?
I apologise for it's blueness, but I just love blue Christmas cards -
Barry wouldn't thank me if I sent him one though!  He likes traditional colours.

Front view

Side view
Colour Combo Night of Navy, White and a touch of Silver.
Stamp sets:-  star from  Bright and Beautiful, 
snowflake from Many Merry Stars
Greeting More Merry Messages.
Star cut using Star Framelits die and sentiment cut with Modern Label punch.
Tiny Rhinestone embellishments (if you can see them!)


Saturday 6 December 2014

One for the children

I have a few cards to do for children and I am never sure what to do,
here's one of the stepper cards that I've done for one of the 4 year olds,
I will personalise this when I decide who will receive it.
I had a great time colouring in this little Santa and am quite pleased at my attempt.

Side view

Front view
The stamp set is "Get Your Santa On" and there are several cute images.
The base card is Cherry Cobbler.
The image is coloured in using Stampin' Up Blendabilties.
The papers are left over,  retired (last years)  Stampin' Up DSP,
but I am sure that the kids won't mine, I think that they are lovely bright colours.
What do you think?
Can't wait to do another one.


Friday 5 December 2014

Two for the price of one!

Well I have had a busy day today, but found time to make a couple of quick and easy cards.
(Then I forgot to post them until now!)
So I'll show you both of them.
Basically it's the same design, but one in Silver and the other in Gold.

Tree - Gold heat embossed , Gold Glimmer paper star and tiny pearls

 Tree - Silver heat embossed, Red Glimmer paper star and tiny gems
Stamp sets used:  once again it's Festival of Trees - this set has really earned it's money!
Sentiment is from Wondrous Wreath
I used my Simply Scored Board to make the borders on each side.
CAS I know - but I think they are quite classy.


Thursday 4 December 2014

And now for something completely different!!

This is a new design to me - it was shown to me by my friend and SU downline, Mavis, 
when we had our get together last week.
Mavis had made a traditional Christmas Coloured card in Red Green and White,
and -yes- you've guessed it - mine had to be in contemporary colours-
plus it had to have blue in it !
So here it is - a two in one card.

Front view

Middle view with open fold

Art farty angle

Hope that the photos help to demonstrate the mechanics of this Two in one card.
The colour combo is Lost Lagoon, Pear Pizzazz and White - with a touch of Smoky Slate.
There is no stamping at all on this card - but I may stamp a greeting on the inside.
All the papers used are from the "All is Calm" Speciality Designer Series paper.
The bauble was punched using the retired Bauble punch, which I still love dearly and won't part with!
I ran this bauble through the Textured Impressions Delicate Designs Embossing folder, 
ensuring that the pattern was centred - which I managed to do quite easily (surprise surprise!)
The Silver ribbon is the only embellishment used as I think that the paper is pretty enough
without much else being added.
Thanks for showing me this different card Mavis - appreciated xx 


Wednesday 3 December 2014

WWWU! (Wade's Weekly Warm Up)

It is such a long time since I took part in our Jem's weekly challenge, that I thought
it was about time I got my finger out and played along.
So - without further ado......
This weeks colour challenge is
 Wisteria Wonder, Elegant Eggplant and Pistachio Pudding. 

Front view - closed

Front view - open

Side view
As you can see it is the same design, using the same stamps as yesterdays card, but
simply using a different colour combo.  
Once again I coloured the Punched Dazzling Diamonds Glimmer Card with 
Elegant Eggplant and Wisteria Wonder to match the trees.
What do you think of these colours?
(At least it's a change from blue!!)


Tuesday 2 December 2014

For someone special

I decided to make a start on my special cards today,
here's the first one, it's called a Gap Card - for obvious reasons.

Card closed

Card open

side view
The colour combo is Pool Party (sorry - it's blue again!), Silver and White.
Backing paper is All is Calm DSP.
Festival of Trees stamp set - using Versamark and Pool Party and Silver embossing powder.
Sentiment from Ornamental Pines.
Stars punched from Silver Glimmer Paper and Dazzling Diamonds
Glimmer Paper, coloured with a Pool Party Stampin' Write marker.
Wish my photos were better!

Monday 1 December 2014

And there's more!

Yes - another card using the Festival of Trees stamp set.


Trees are stamped in versamark  and heat embossed with Silver embossing Powder.
The strips of paper are scraps left over from retired DSP - too beautiful to throw away!
Greeting from Ornamental Pine stamped in Versamark and heat embossed
with Pool Party embossing powder.
The stars are punched from Dazzling Diamonds Glimmer paper then coloured with
 a Pool Party Stampin' Write Marker pen.
I do love my blue Christmas cards!

Saturday 29 November 2014

Another of Liz's cards

I showed you one of my friend  Liz's cards that she had made for one of her grandsons
the other week, and promised to show you the other one that she made for his brother 
- well here it is!!


I think it's fabulous - don't you?
She's so clever!

Thursday 27 November 2014

Stampin' Up UK Sale-a-bration Tour - swaps.

Here are a couple of my swaps that I will be giving out tonight!


I'll add the details on how they are made later tonight!

Wednesday 26 November 2014

Name Badge for tomorrow.

Tomorrow is the Stampin' Up UK Sale-a-bration Tour event in Leeds and my down-line
(and good friend) Carol and I are travelling together to attend this tomorrow evening.
I have made my swaps and only just finished my name badge, 
which is a prerequisite for all these sort of Stampin' Up events.
Here it is, I am quite pleased with this.


Very CAS name badge, using the Back to Basics Alphabet stampset for my name
and  Endless Wishes for the snowflakes.
I used the emboss resist technique, by stamping the snowflakes  in Versamark
then heat embossed with White Embossing Powder,
 I then sponged on Pool Party and Crumbcake ink on top 
and buffed with a paper towel to remove excess ink.
Simple embellishments used - a thin strip of Champagen Glimmer Paper
and I coloured tiny rhinestones to co-ordinate.
Right - must get off to bed now - busy day tomorrow!

Tuesday 25 November 2014

Some more Ornamental Pine!

Well I am really getting my money's worth out of this stampset!
Here's my latest card using Ornamental Pine.


Cherry Cobbler, Garden Green, Soft Suede and White with a dash of Gold glitter.
Only embellishments used on this are a Cherry Cobbler button (retired)
and some Linen Thread.


Monday 24 November 2014

Festival of Trees ......with scraps!

Today I have been making my Christmas cards in earnest and am happy to report that I have made 6.
These have been quite CAS cards, but I think that they are quite effective.
The basic colours are Pool Party, (Blue again!!) Silver and White
and I have used some scraps of last Christmas's Designer Series Paper
that I just couldn't bear to throw away - I am so glad I kept these scraps!


The stampset is Festival of Trees and the sentiment is from the Wondrous Wreath stamp set.
The tree and sentiment is stamped with the  Silver Encore ink pad.
No bad for scraps eh!

Sunday 23 November 2014

Emboss resist with cling film sponging.

Today I have tried a technique a little bit different to my normal emboss resist.
You stamp in Versamark, then heat emboss with White embossing powder,
then instead of traditional sponging, use scrumpled up cling film to apply
the layer of ink on top. It's a bit more of a grungy effect than ordinary sponging.
I saw this on Louise Welsh's blog

Here's what my card looked like


The stamp set used is Endless Wishes,
and the sentiment is from Ornamental Pine.
Colours used are Pink Pirouette, Pool Party and Coastal Cabana,
Sentiment stamped in Versamark and heat embossed with Silver embossing powder.
Two thin strips of Silver Glimmer paper are the only embellishment.
I love this technique - and will try these in different colours.
Watch this space!......

Saturday 22 November 2014

Another Ornamental Pine

Well I have used this stamp set to make several cards, but I think that this card is the one 
which I shall repeat as the one that Barry and I will send out to friends and close family.


The stamp set is of course, Ornamental Pine, which is fast becoming a favourite of mine.
I have used Gorgeous Grunge for the background.
The sentiment is from the Good Greetings Hostess stamp set.
Colour Combo is Crumb Cake, Gold, Early Espresso and Very Vanilla.
The Gold Basic Metal button is a newcomer to the Seasonal Autumn Winter Catalogue.
I have coloured tiny rhinestones to pick up the brown of the cones.
Ribbon and sequins from my stash.
Mmmm - I am very pleased with this one!
What do you think?

Friday 21 November 2014

Happy birthday Jean

Yesterday I showcased a card my friend Jean had made,
today is her birthday, so I am showing you the birthday card I have made for her. 


I used the Textured Impressions Delicate Designs Embossing folder
to make the lacy border and sponged the embossing with Pistachio Pudding ink.
I wrapped a length of (retired) Pistachio Pudding Stretch Ruffle Trim around the card.
I also sponged a Tea Lace Paper Doily with Pistachio Pudding ink,
then punched a1.3/4" a scalloped circle in white and glued on top,
then on top of this I punched out the Sentiment  using the Label Bracket Punch.
The sentiment was stamped using the Tag Talk stamp set with Pistachio Pudding ink.
The butterflies were stamped using the Papillon Potpourri stamp set, the small one
in Smoky Slate and the large one in Pistachio Pudding.
These were then puched out using the Bitty Butterfly and Elegant Butterfly punches.
Tiny rhinestones for embellishments.
Happy Birthday Jean - hope you are having a lovely day!


Thursday 20 November 2014

Jean's Ornamental Pine

I do so love it when my ladies bring along to class, cards that they have made,
 at home using Stampin' Up supplies.
Here's one that Jean from my Wednesday Class made.


A very CAS card, but so elegant and classy- don't you agree.
The stamp set used was Ornamental Pine, which she stamped
in Versamark and then heat embossed with a mixture of Bronze
 and Silver embossing powder.
(I think they are the colours she said that she used - will check!)
A tiny bow is the only embellishment needed!
Absolutely beautiful Jean - great card!
Must case this one! (Watch this space)

Wednesday 19 November 2014

Moonlight and Holiday Home

Spent a great day with Chris (Sis-in law) today, and we only managed two projects -
here's one of them - watch this space for the other one!
It's a little pop-up box card using the Holiday Home stamp set 
and the Moonlight Designer Series Paper Stack.

General view

Side view

Front view

View from above
Colour combo is Lost Lagoon, Pear Pizzaz and Smoky Slate.
I love that sentiment!


Tuesday 18 November 2014

Bright and Beautiful

I am sure that many of you have noticed that I love to feature blue on my Christmas cards
and this card is no exception.


Colour combo is Night of Navy, Silver and White.
Stamp sets used - Bright and Beautiful  and Petite Pairs
The starry border was punched using the Confetti Stars Punch.
Tiny rhinestones are the only embellishment used.

Monday 17 November 2014

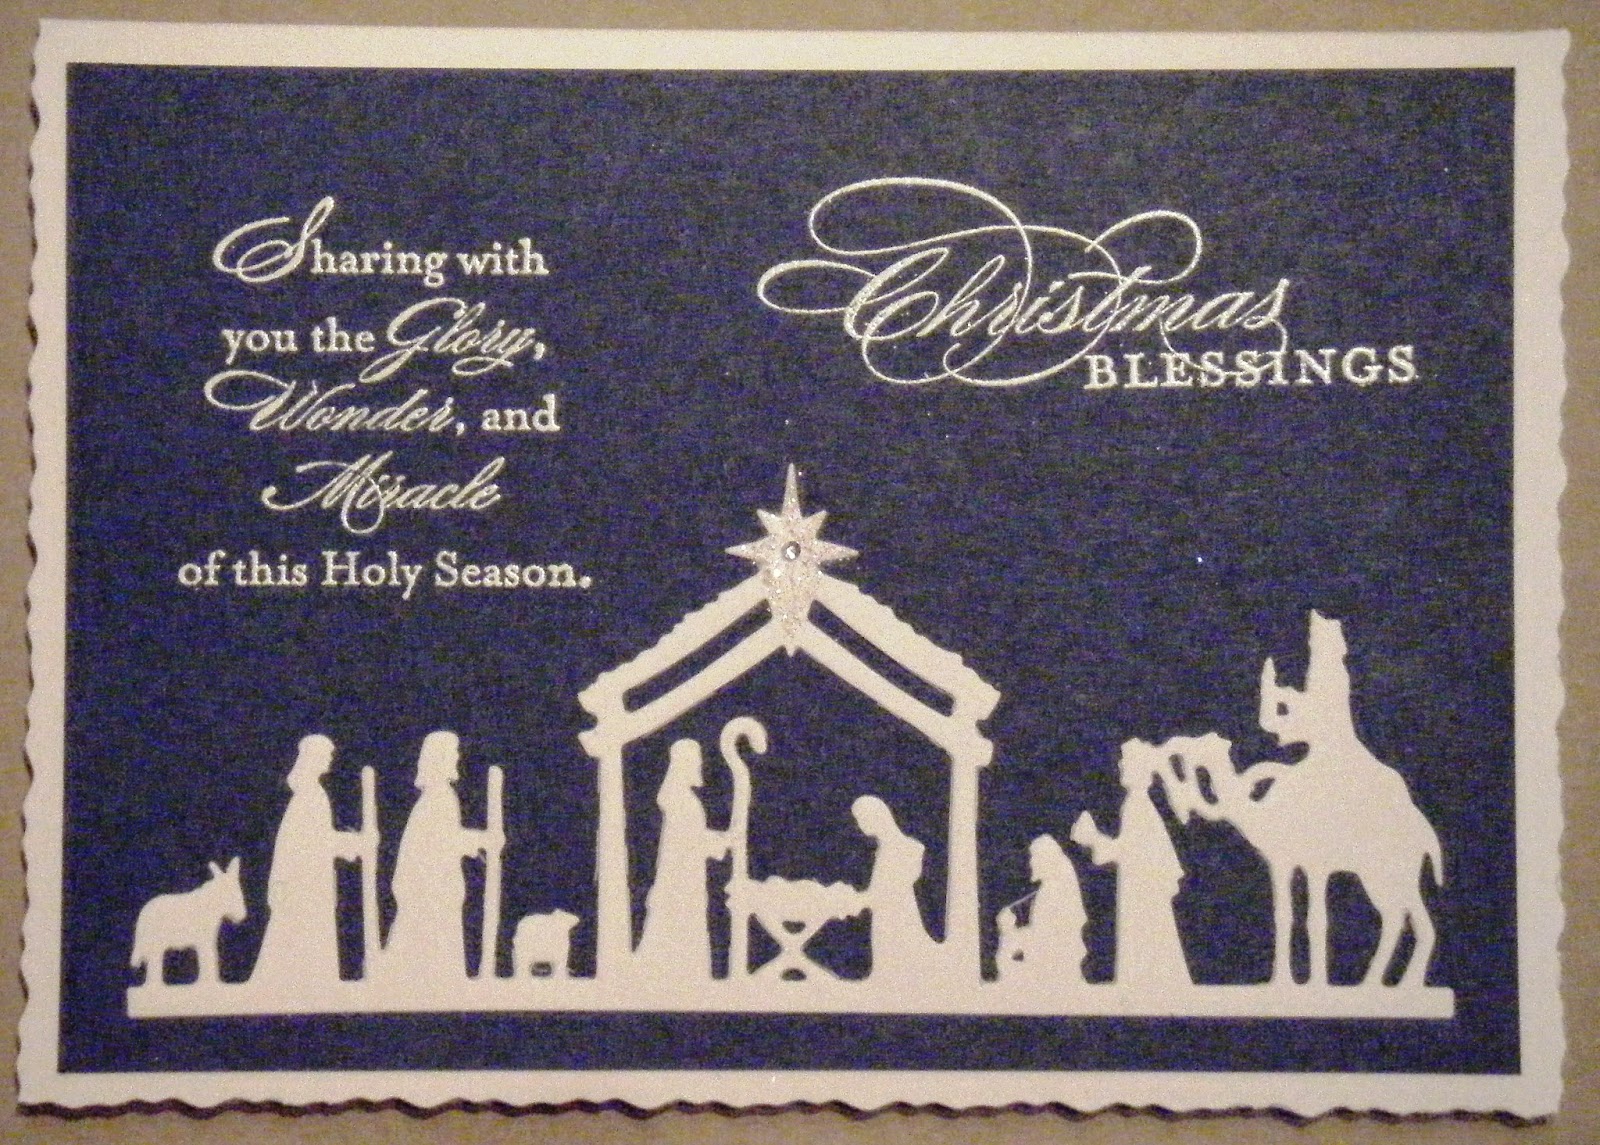
Ornamental Pine

Well the Christmas Season is creeping up on us so quickly that I have had to up the pace of my Christmas card making, so that I am not on a last minute dash again (as in many years previously).
I have given myself a target of how many cards I need to make each week before
 the posting deadline, and it's not as bad as I expected. 
This is mainly because we have been doing quite a few each week at my classes.
I must get my cards sent off abroad though - Australia, Spain, USA and Japan - 
we must be near the deadline already!
Anyhow - here's the first of a series of cards that I have made,
 inspired by creations on Pinterest, using the Ornamental Pine stamp set.


The colours don't show up very well on this photo, but I used Always Artichoke for the pine needles and stamped the pine cone with Versamark, then heat embossed with Early Espresso
embossing powder, and highlighted it with a white pen.
I ink dusted the sky using Night of Navy, Marina Mist and Soft Sky ink.
I then used the splatter technique using a stiff paintbrush and white ink.
Not sure if you can see this - in reality it has quite a dramatic effect,
but loses this in the photography - sorry!
Sunday 16 November 2014

Fry Box Santa

I really do enjoy making gift boxes ad this one is no exception!
My friend and down-line Carol brought the die for me to cut the fry box out the other week.
We made the box base together using the Fry Box Bigz L die and 
Cherry Cobbler, Black and Gold card stock and Dazzling Diamonds Glimmer Paper.
Later last weekend, after doing the rounds of fellow Julies' Jems team blogs, 
I happened across this punch art Santa's head that
 Amanda from The Craft Spa had made
then I knew I had to make one for myself.
I didn't have the moustache die that Amanda used,  so I improvised using 
the bird's wings from the bird Builder punch.

Side view


Front view
I just love it!
What do you reckon Amanda??


Saturday 15 November 2014

Punch art Pop Star

One of my Tuesday Craft class ladies, Liz, (who also happens to be my gardening guru and very good friend!), brought this punch art card that she had made for her guitar playing,
would be rock star, Grandson, for us to see.


Isn't it just fabulous!!
Well done Liz.
(I have another one of her punch art masterpieces to show you, but that's for another day!!)

Friday 14 November 2014

Endless Wishes

Here's one of the cards that I made at our Julies' Jems Monthly Training last week -
I just love this card and the colour combo!


The stampset is Endless Wishes.
Cardstock is Crumbcake  and Pool Party.
Larger Snowflakes and sentiment are stamed in Versamark
then heat embossed with Pool Party embossing powder.
Smaller snowflake stamped in Lost Lagoon.
Ribbon is Lost Lagoon 3/8" Silky Taffeta ribbon.
Thanks for sharing this with us Julie!

Thursday 13 November 2014

Festival of Trees Tags

Well I may not have started my Christmas shopping in earnest yet, 
but I have made a few tags to tie on the presents!


The Scalloped Tag Topper punch was used on various colours of card stock.
The trees are from The Festival of Trees stamp set and punched with the Tree Punch,
Various colours of embossing powder were used.
The papers are from the Trim the Tree DSP Stack, 
and Gold and Dazzling Diamond Glimmer paper was used.
I'm really pleased with these!

Wednesday 12 November 2014

Another Curvy Keepsake box

Chris (sis-in-law) has been over today for our weekly crafting get- together.
It's good to get back into a normal routine after such a hectic month!
I showed her the snowman box and found a couple more designs on the internet,
so can't claim any of the kudos, but I am sure you will agree that this one is so cute!!
I saw this penguin box at Julie's monthly training event last week
(follow the link and you can see more of her makes on her blog)


I just love this little penguin - the kids will love it!!
The punches used are the Owl Punch, Modern Label Punch,
and the Extra-large Oval punch.

Tuesday 11 November 2014

Curvy Keepsake Box

I really love this curvy shaped box for table favours at dinner parties, and I am trying
out various designs for the Christmas dinner table.
Here is my first attempt.

Front view

General view
Sahara Sand cardstock was used  to make the box and tag, using the
Curvy Keepsake Box Thinlits Die.
The stamp set used was White Christmas and the ink used was soft Suede.

I think that I will be making quite a few of these!!